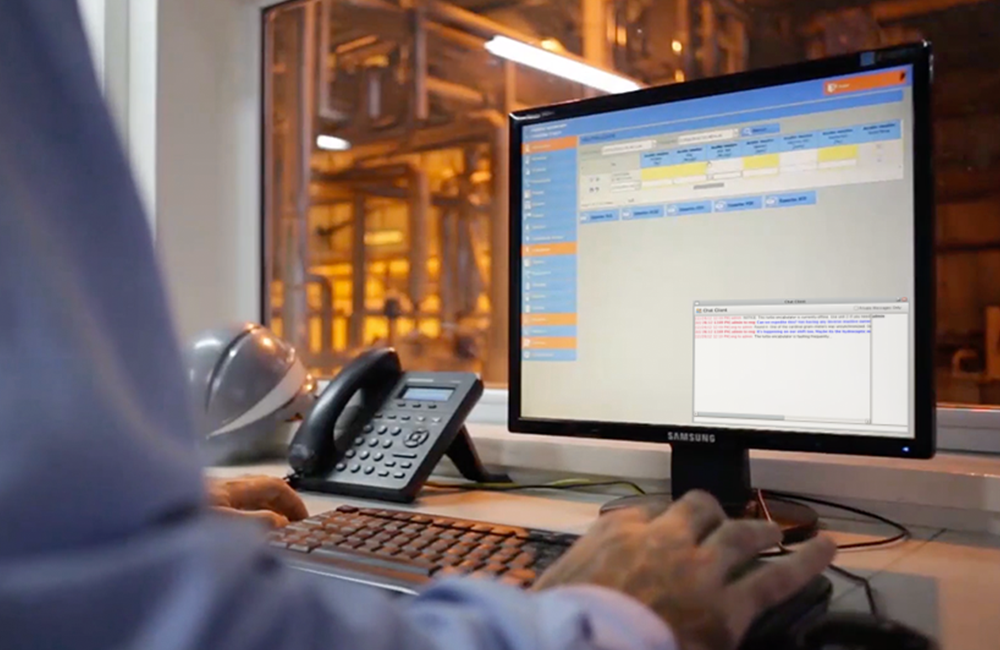
I am always finding new ways to use Ignition. Recently, I have been getting a lot of requests about whether or not you can send chat messages from one client to another.
The answer to that question is simple: yes! With Ignition, the answer is almost always “yes” because it is such a versatile platform. Read on to learn how to set up a chat client yourself, and even get a free download of the project to use on your system.
It Starts with SQL
I think the real key to Ignition is its ability to talk to any SQL database. At its simplest form, a SQL database is nothing more than a collection of information. What makes this database so powerful is how easy it is to transfer data back and forth from the database; that’s where the SQL language comes into play.
SQL is easy to learn and provides a ton of power. The language also follows a standard, making it easy to work with different database vendors such as MySQL, Microsoft SQL Server, and Oracle. Ignition was developed from the beginning to work with SQL databases. Ignition naturally connects and runs SQL queries to any database.
Build Your Chat Client
To make a chat client, all we need is a little knowledge of the SQL language and a bit of creativity. Ignition is server-based, which means every client communicates back to the central Ignition server. The Ignition server communicates directly with the SQL database. Because of that functionality, every client looks at the same SQL database information. So, if one client adds information to a database then all of the other clients can immediately see the new information. This makes Ignition perfect for a chat client. To configure a chat client, we need to know who is currently logged into each client and add a table in the database that will store the chat messages.
Let's make our chat client so you can send a message to all users or one particular user. Each client that you log into registers a session on the Ignition Gateway (server). We can easily run a simple scripting function— system.util.getSessionInfo() —to list all of the people currently logged into a client. The function returns a dataset of all the currently running client sessions. Each row represents a session with the following columns:
- username (String)
- project (String)
- address (String)
- isDesigner (Boolean)
- clientId (String)
- creationTime (Date)
We just need to pick out the rows where the isDesigner flag is false. Here is an example:
sessions = system.util.getSessionInfo()
users = []
for session in sessions:
  if session["isDesigner"] == 0:
    users.append(session["username"])
print users
Now, let's identify all of the pieces of information we need to store in the database when we send the message:
user = who sent the message
time = date / time the message was sent
recipient = who to send the message to (if any, NULL when to all users)
message = the actual message
In our database, we just need to create a table with the columns above. Every database table must have a primary key. The primary key of a table uniquely identifies each record in the table. I typically choose an "Auto Incrementing" primary key where the database sets the value for me based on a sequence starting at 1. I am going to use MySQL as the example. You can open the MySQL Workbench tool to build the table graphically. At the end of the day, the tool constructs a SQL query to create the table. It looks like this:
CREATE  TABLE `test`.`chatmessages` (
  `id` INT NOT NULL AUTO_INCREMENT ,
  `username` VARCHAR(45) NOT NULL ,
  `t_stamp` DATETIME NOT NULL ,
  `message` TEXT NOT NULL ,
  `recipient` VARCHAR(45) NULL ,
  `flags` VARCHAR(45) NULL ,
  PRIMARY KEY (`id`) );
You can see that the id column is auto-incrementing and is the primary key. I also added another column to the table called flags for different types of messages. The recipient column allows NULLs so you can send the message to all users. You can run the above query in the MySQL Workbench tool to create the table.
Now that the table is built, we can create a screen in Ignition to view and send messages by running SQL queries to the database. There are 4 main types of SQL queries:
SELECT - retrieve data from the database
INSERT - insert new records
UPDATE - update (edit) records
DELETE - delete records
All we need are the SELECT and INSERT commands. We’ll use the SELECT command to view the chat messages and the INSERT command to send a new chat message.
We have a lot of options for how we want to view the chat messages. We can use a table, comments panel, or list component. All of them have a dataset property that can be bound (linked) to a SQL query that retrieves the messages from the database. The query looks something like this:
SELECT t_stamp, username, message, recipient FROM chatmessages ORDER BY t_stamp ASC
We can use a text field component to send out a new message. We just need to setup a simple script on the text field that inserts the message into the database when the user presses enter. The script looks something like this (note: the full code in the text box may be cropped on your screen; tab over to the right to see the full code):
if event.keyCode == event.VK_ENTER:
  message = event.source.text
  if message == "":
    system.gui.messageBox("Please enter in a message")
  else:
    username = system.security.getUsername()
    system.db.runPrepUpdate("INSERT INTO chatmessages (username, t_stamp, message) VALUES (?,CURRENT_TIMESTAMP,?)", [username, message])
Of course, we can add some more features to the script above.
Really, that’s it! All we configured is a single database table and a single Ignition screen to make a chat client.
One of my main goals through this blog is to not only guide you through creating these types of applications but to also give you actual projects that you can download and use. I have created an Ignition screen that demonstrates everything we talked about. It uses a MySQL table and has a few more features built-in. Click on the link below to download.
Click here to download the chat client project backup
It is a .proj backup. You can import it into your project through the Ignition designer by selecting File > Import... from the file menu.
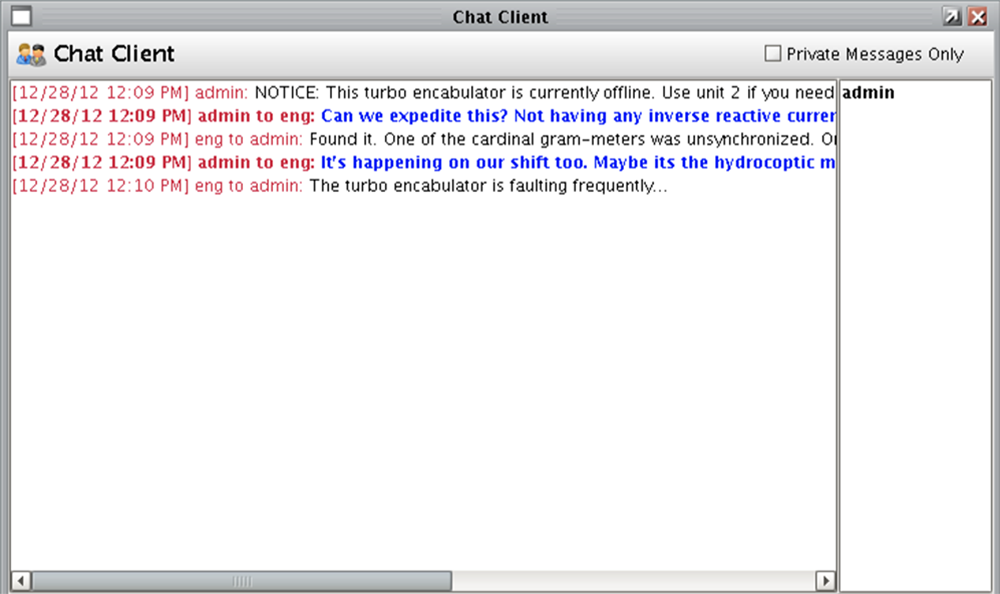
If you type in a message and press enter it will send the message to all users. If you double click on a logged-in user to the right, it will send the message directly to that person. In that case, it will put the following into the text box:
/msg admin here is my message
The /msg admin tells the script who to send the private message to. Only users other than yourself will show up in the logged in list to the right.
Feel free to customize it any way you want. Enjoy!

Want to learn more about ways to use SQL with Ignition? Check out our resources on Inductive University!
Have you tried using Ignition as a chat client? We’d love to hear about it in the comments below!
Tags /
Ignition