This article demonstrates how to setup an OPC to OPC group in FactorySQL. This will allow you to synchronize two different PLC values, increment a value by one, and more.
Background
FactorySQL is necessary for long-running tasks that must execute even when there is not a client watching. These tasks in FactorySQL are called Groups and they define an execution scenario for a set of Items. One such group is called the Standard group. The standard group was the first type of group in FactorySQL and it's flexible, highly configurable, and accomplishes much of what users want FactorySQL to do. Here are a few of its uses:
- Log values to a SQL database
- Update one row of values in the SQL database (first, last or custom row)
- Bi-directionally synchronize a SQL database with a PLC
- Synchronize two PLC values (same PLC, different PLCs)
- Store downtime
- Load recipes to the PLC
- Etc.
Synchronize Two PLC Values
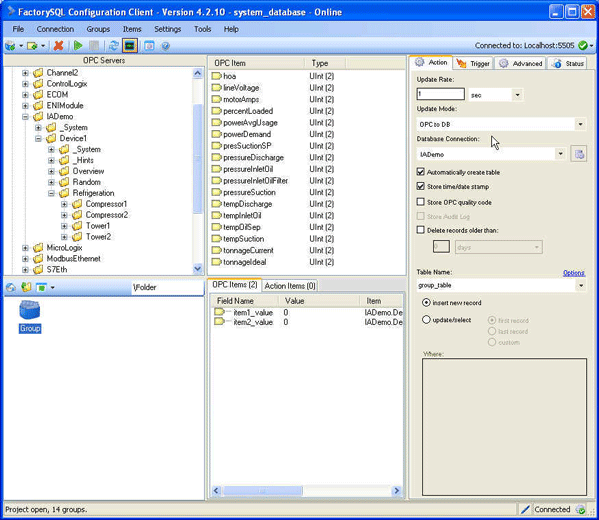
To synchronize two PLC values you must first create a standard group in your project. Once you have created the group, browse for the two tags you want to synchronize and drag them into the group.

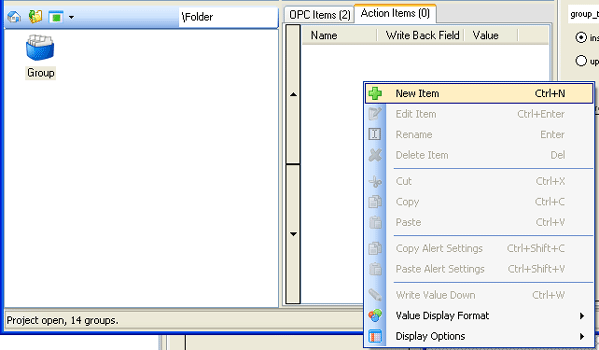
Once you have the two tags, select the Action Items tab, right click in the white space and select New Item.

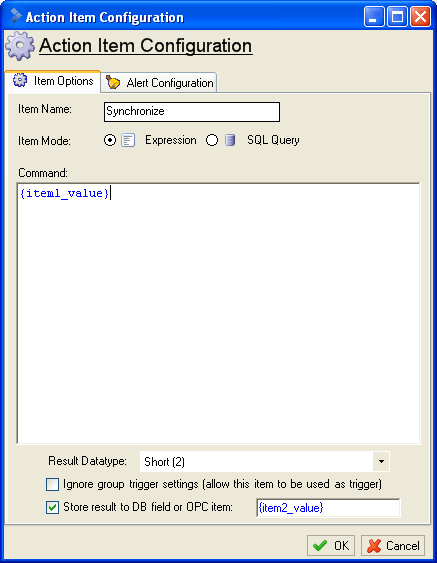
Name the action item Synchronize and select Expression as the item mode. For this action item, we want to select the first OPC item as the result which will be written to the second OPC item. In the Command box, right click and select Items and double click on the OPC item to get the value from. Once you have that, select the data type of the OPC item. Lastly, check the box to Store result to DB field or OPC item, right click in the text box and select the OPC item to write to.

That's it! You can now start the group to see it work.
Did You Know!
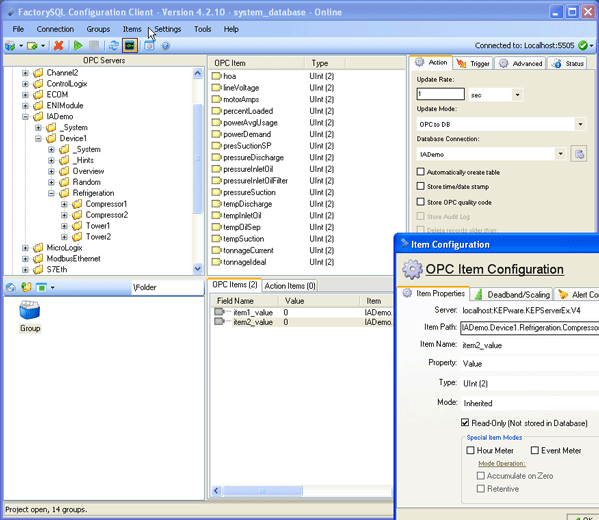
The standard group can be setup so that it does not interface to the SQL database at all. All you have to do is uncheck the Automatically create table, Store time/date stamp, Store OPC quality code and set all of your OPC items and action items to read only. This way the group will only execute any action items and does not have to talk to the SQL database.
